Coding Rank – The platform for the most active and innovative developers worldwide !
Overview
Coding Rank Project is a web application that allows users to visualize contribution statistics of different users across version control platforms like Github, Gitlab, and Gitbucket. The application is built with NuxtJS, TailwindCSS and uses GraphQL for queries.
The project’s primary goal is to provide developers with a simple and easy-to-use platform to track their contributions, compare their performance with other users, and stay motivated to contribute more.
Features
The project currently offers the following features:
View the rankings of users based on their contributions in a particular month.
View the rankings of users based on the number of followers they have on Github.
View the rankings of users based on the number of stars they have received on their Github repositories.
Compare the performance of different users across multiple metrics.
Visualize contribution statistics in a user-friendly interface.
How to Use
To use the Coding Rank Project, follow these steps:
Clone the repository to your local machine.
Install the required dependencies by running yarn in the project directory.
Configure your environment variables in the .env file.
Start the application by running yarn dev.
Access the application at http://localhost:3000.
Contributing
We welcome contributions from the community. If you would like to contribute to the project, please refer to our contribution guidelines.
License
The Coding Rank Project is open-source software released under the MIT license.
Contact
If you have any questions or suggestions regarding the project, please contact us at hello@charlesdzadu.com.
Salesforce SAML and OAuth 2.0 authorization flows using Node.js
This application is an example implementation in Node.js of the different SAML and OAuth flows that are supported by Salesforce.
Please leverage this repository as learning material, rather than something to be used in production.
Introduction
When I was preparing for the Salesforce Certified Technical Architect (CTA) certification, Identity & Access Management (IAM)
was one of the topics I struggled with. Mainly because I hadn’t come into contact with it frequently during any projects I’d worked on.
I knew how to set up Single Sign-On (SSO), but that didn’t compare to understanding the more delicate
complexities of the different OAuth flows. So I started diving into this topic in detail.
There were two resources that were invaluable to me:
A very lengthy conversation about different IAM topics with Lawrence Newcombe. Lawrence has actually taken the outcome of these discussions and created very clear diagrams from them on his personal blog.
A blog post about a Node.js application implementing the JWT OAuth flow by Jitendra Zaa.
At first, I expanded upon Jitendra’s work by adding the flows I struggled with most. After passing the CTA board,
I wanted to build it out further to include the majority of OAuth flows so that others could also learn from it.
It took a while but I’ve finally built it.
Video walkthrough
!! This video is outdated – planning to update soon
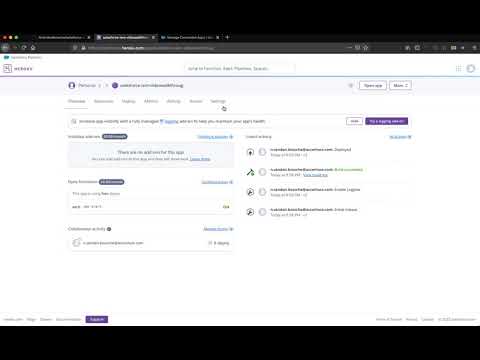
You can find a video walkthrough of how to install and set up the application on your personal Heroku environment.
Click the below image to launch the video on Youtube.
Steps to run
Step-by-step instructions on how to get the application up and running.
You can run this application locally via Node.js or on Heroku.
Prerequisites
Create a Heroku account if you don’t already have one.
If you want to run the application locally, install the Heroku CLI.
Step 1
Step 1.1 Generate your own private key and public certificate
For some of the OAuth flows, we’ll need a public certificate (or public key) and upload it to the Connected App.
We’ll either need to generate our own public & private key, or you can use the ones in this repository. Both keys are stored in the root folder:
key.pem is the private key
server.crt is the public key (certificate)
Be aware that this isn’t safe and you should only do this for Salesforce environments that you don’t mind getting compromised.
To generate your own private key and public certificate, follow these steps
Install openssl by following the instructions on its Github repository.
Clone this repository to your local machine.
Run the following command in the root of the cloned repository:
For OpenSSL 3.0 and above: openssl req -x509 -newkey rsa:2048 -keyout key.pem -out server.crt -days 365 -noenc
For earlier versions of OpenSSL: openssl req -x509 -newkey rsa:2048 -keyout key.pem -out server.crt -days 365 -nodes
Step 1.2 Create Connected App
Create a Connected App in your Salesforce org. The Connected App should have the following settings:
Basic Information: Fill out Name and your Email, leave everything else blank.
Use digital signature: check this and upload the ‘server.crt’ file (either from this Github repository or self-generated certificate).
Selected OAuth scopes: you can play with this but for all flows to fully function you’ll need ‘full’, ‘openid’ and ‘refresh_token’.
Require secret for web server flow: uncheck this (unless you want to specifically test this setting).
Leave all other settings as default.
Web App Settings: leave default.
Custom Connected App Handler: leave default.
Mobile App Settings: leave default.
Canvas App Settings: leave default.
Step 1.3 – Set Connected App Policies
From the newly created Connected App, click ‘Manage’, then ‘Edit Policies’. Under ‘OAuth Policies’, selected ‘Admin approved users are pre-authorized’ for ‘Permitted Users’.
After saving, add the correct profile of your user or add a permission set that is assigned to your user.
Step 2
Option 1 – Deploying to Heroku
Click on the above button to deploy this application on Heroku.
Open a terminal in the root directory and run the following commands:
npm install
node -r dotenv/config Server.js
Step 3
Navigate to your app, either on Heroku or locally (via https://localhost:8081). Go to the flow you’re interested in, read the description and
click the Launch button to execute.
Permission is hereby granted, free of charge, to any person obtaining a copy
of this software and associated documentation files (the “Software”), to deal
in the Software without restriction, including without limitation the rights
to use, copy, modify, merge, publish, distribute, sublicense, and/or sell
copies of the Software, and to permit persons to whom the Software is
furnished to do so, subject to the following conditions:
The above copyright notice and this permission notice shall be included in all
copies or substantial portions of the Software.
THE SOFTWARE IS PROVIDED “AS IS”, WITHOUT WARRANTY OF ANY KIND, EXPRESS OR
IMPLIED, INCLUDING BUT NOT LIMITED TO THE WARRANTIES OF MERCHANTABILITY,
FITNESS FOR A PARTICULAR PURPOSE AND NONINFRINGEMENT. IN NO EVENT SHALL THE
AUTHORS OR COPYRIGHT HOLDERS BE LIABLE FOR ANY CLAIM, DAMAGES OR OTHER
LIABILITY, WHETHER IN AN ACTION OF CONTRACT, TORT OR OTHERWISE, ARISING FROM,
OUT OF OR IN CONNECTION WITH THE SOFTWARE OR THE USE OR OTHER DEALINGS IN THE
SOFTWARE.
In this project, we try to identify how trends have changed for ‘automation’ across decades, by analyzing The New York Times articles from 1950 to 2021. We also try to identify topics related to ‘automation’ that managed to consistently get media attention over the decades. We use a variety of approaches and techniques for data cleaning and standardization, and also use packages such as Gensim, spaCy, NLTK, BERTopic etc. to complete the analysis.
Problem Statements
The objective can be classified into two:
Understand the trend around ‘automation’ using co-occurence of words.
Understand how topics related to ‘automation’ have changed across decades using topic modeling.
Implementation
The implemntation can broady be classified into the following stages:
Creating the raw layer from source
Cleaning the data
Transforming the data
Analyze the data
Trend for Automation
Trend for topics related to Automation
We discuss each of this in the following sections.
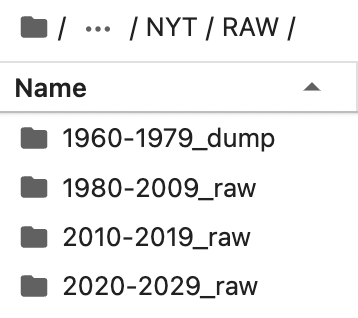
Raw Layer
The source of data is from the The New York Times website. All the data for the raw layer reside as text files. We use ProQuest to get the news articles realted to ‘automation’ as text files. We have images of articles for the years 1950 to 1980, and text transcripts for the articles written after 1980. ProQuest uses an image to text tool to retrieve the articles from the images and return a text file. ProQuest also genereates a metadata file for the articles holding information like Publication info, Publication year, Publication subject, Abstract, Links, Location, People, Place of publication, etc. Each row of the metadata file holds information about one article. This file can be used to categorize the text files as needed. Sometimes, the image to text fails, leading to a mismatch in the number of rows in the metadata file and the actual number of files. An example of a text file generated by ProQuest for articles before 1980 can be seen here, and another example of an article written after 1980 can be seen here. The folder structure for the raw layer is shown below:
Cleansed Layer
The first step involved in data cleaning is to categorize the articles based on the decade it was written. There are a few approaches taken here:
1950-1959: No cleaning was required on the articles written during this decade.
1960-1979: We use the metadata file generated by ProQuest to identify the files which falls into the 1960-1969 and 1970-1979 decades.
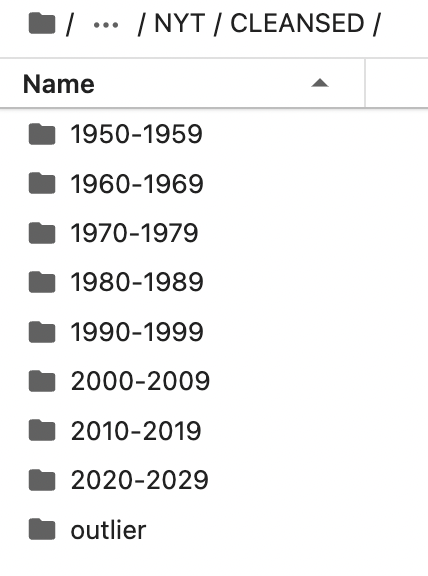
1980-2020: Things get a bit more complicated here as the text files generated by ProQuest holds not only the content of the article, but also other metadata. Since the text files follow a particular structure, we use the rules of the structure to our advantage. By identifying the beginnnng and ending of the ‘full text’ section, we are able to extract just the articles from these files. We also apply the same logic to extract the ‘publication year’ from the text files, helping us categorize the article based on the decade. We also check if there are any outliers using the same logic.
2010-2029: We use the rules used for 1980-2020 to identlify the ‘publication year’ from the text files, and categorize the article based on the decade. We also check if there are any outliers using the same logic.
1950-1959: We encountered some outliers while processing 2010-2019. Upon further inspection, these turned out to be files from 2009. We manually move them to the appropriate folder.
The code for this layer is available here. The folder structure for the cleaned layer is shown below:
Transformed Layer
This is the final layer before starting the analysis. We apply a variety of rules in this layer to prepare the data for subsequent layers. First, we remove stopwords, prepositions, punctuations, pronouns and common words from all the articles. The folder structure after this has been applied on the cleaned layer looks like:
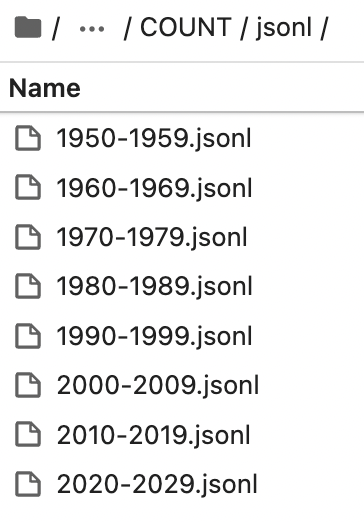
Next, we create unigrams, bigrams and trigrams for each article. We also get the count of each unigram, bigram and trigram generated per article, and format the results into a JSON of format:
Finally, we save the generated JSONs as JSONL files, and do some validation to make sure we have not lost any articles between the cleaned and transformed layers. The code for this layer is available here.
Analysis
The approach towards the analysis can be split into two methodologies depending on our objective:
Identifying the trends for Automation
To understand how the trends have changed for ‘automation’ across decades, we look at the frequency of occurence for the word ‘automation’ in the articles through 3 different persepetives.
Persepctive 1
Aims to answer how many times the word automation occured as a unigram, bigram or trigram in the corpus for each decade, on a file level. The code for this approach is available here, and the result can be found here.
Persepctive 2
Aims to answer how many times a bigram or trigram was present in the corpus for each decade, on a word level. The code for this approach is available here, and the result can be found here.
Persepctive 3
Aims to answer how many times a bigram or trigram was present in the corpus for each decade, on a word level, after lemmatization. The code for this approach is available here, and the result can be found here.
Visualization
We also build a visualization on top of the results of Persepctive 3 to get a better sense of the distrbution of the top 50 words in the corpus across decades. The code used to build the visualization is available here, and the actual visualization can be accessed here.
Identifying the trend for topics related to ‘automation’
We use different topic modeling techniques to find dominant topics in each decade, and also perfrom dynamic topic modeling to capture the evolution of topics. The approaches taken are:
Decade wise topic modeling using LDA
Decade wise topic modeling using BERTopic
Dynamic Topic Modeling (DTM) using LDA Sequence Model
Dynamic Topic Modeling (DTM) using BERTopic – DTM
The code for these sections are well commented, so I am not discussing them further. You can view and download the code here and, the results as visualizations here.
Results
In this section, we will discuss the results of the analysis:
TBD
Incognito is a Python module for anonymizing French text. It uses Regex and other strategies to mask names and personal information provided by the user.
This module was specifically designed for medical reports, ensuring that disease names remain unaltered.
NOTE The doc is not quite up to date 🙁
Installation
From pip
pip install incognito-anonymizer
From this repository
Clone the repository:
git clone https://github.com/Micropot/incognito
Install the dependencies (defined in pyproject.toml):
pip install .
Usage
Python API
Example: Providing Personal Information Directly in Code
from . importanonymizer# Initialize the anonymizerano=anonymizer.Anonymizer()
# Define personal informationinfos= {
"first_name": "Bob",
"last_name": "Jungels",
"birth_name": "",
"birthdate": "1992-09-22",
"ipp": "0987654321",
"postal_code": "01000",
"adress": ""
}
# Configure the anonymizerano.set_info(infos)
ano.set_strategies(['regex', 'pii'])
ano.set_masks('placeholder')
# Read and anonymize texttext_to_anonymize=ano.open_text_file("/path/to/file.txt")
anonymized_text=ano.anonymize(text_to_anonymize)
print(anonymized_text)
Example: Using JSON File for Personal Information
from . importanonymizer# Initialize the anonymizerano=anonymizer.Anonymizer()
# Load personal information from JSONinfos_json=ano.open_json_file("/path/to/infofile.json")
# Configure the anonymizerano.set_info(infos_json)
ano.set_strategies(['regex', 'pii'])
ano.set_masks('placeholder')
# Read and anonymize texttext_to_anonymize=ano.open_text_file("/path/to/file.txt")
anonymized_text=ano.anonymize(text_to_anonymize)
print(anonymized_text)
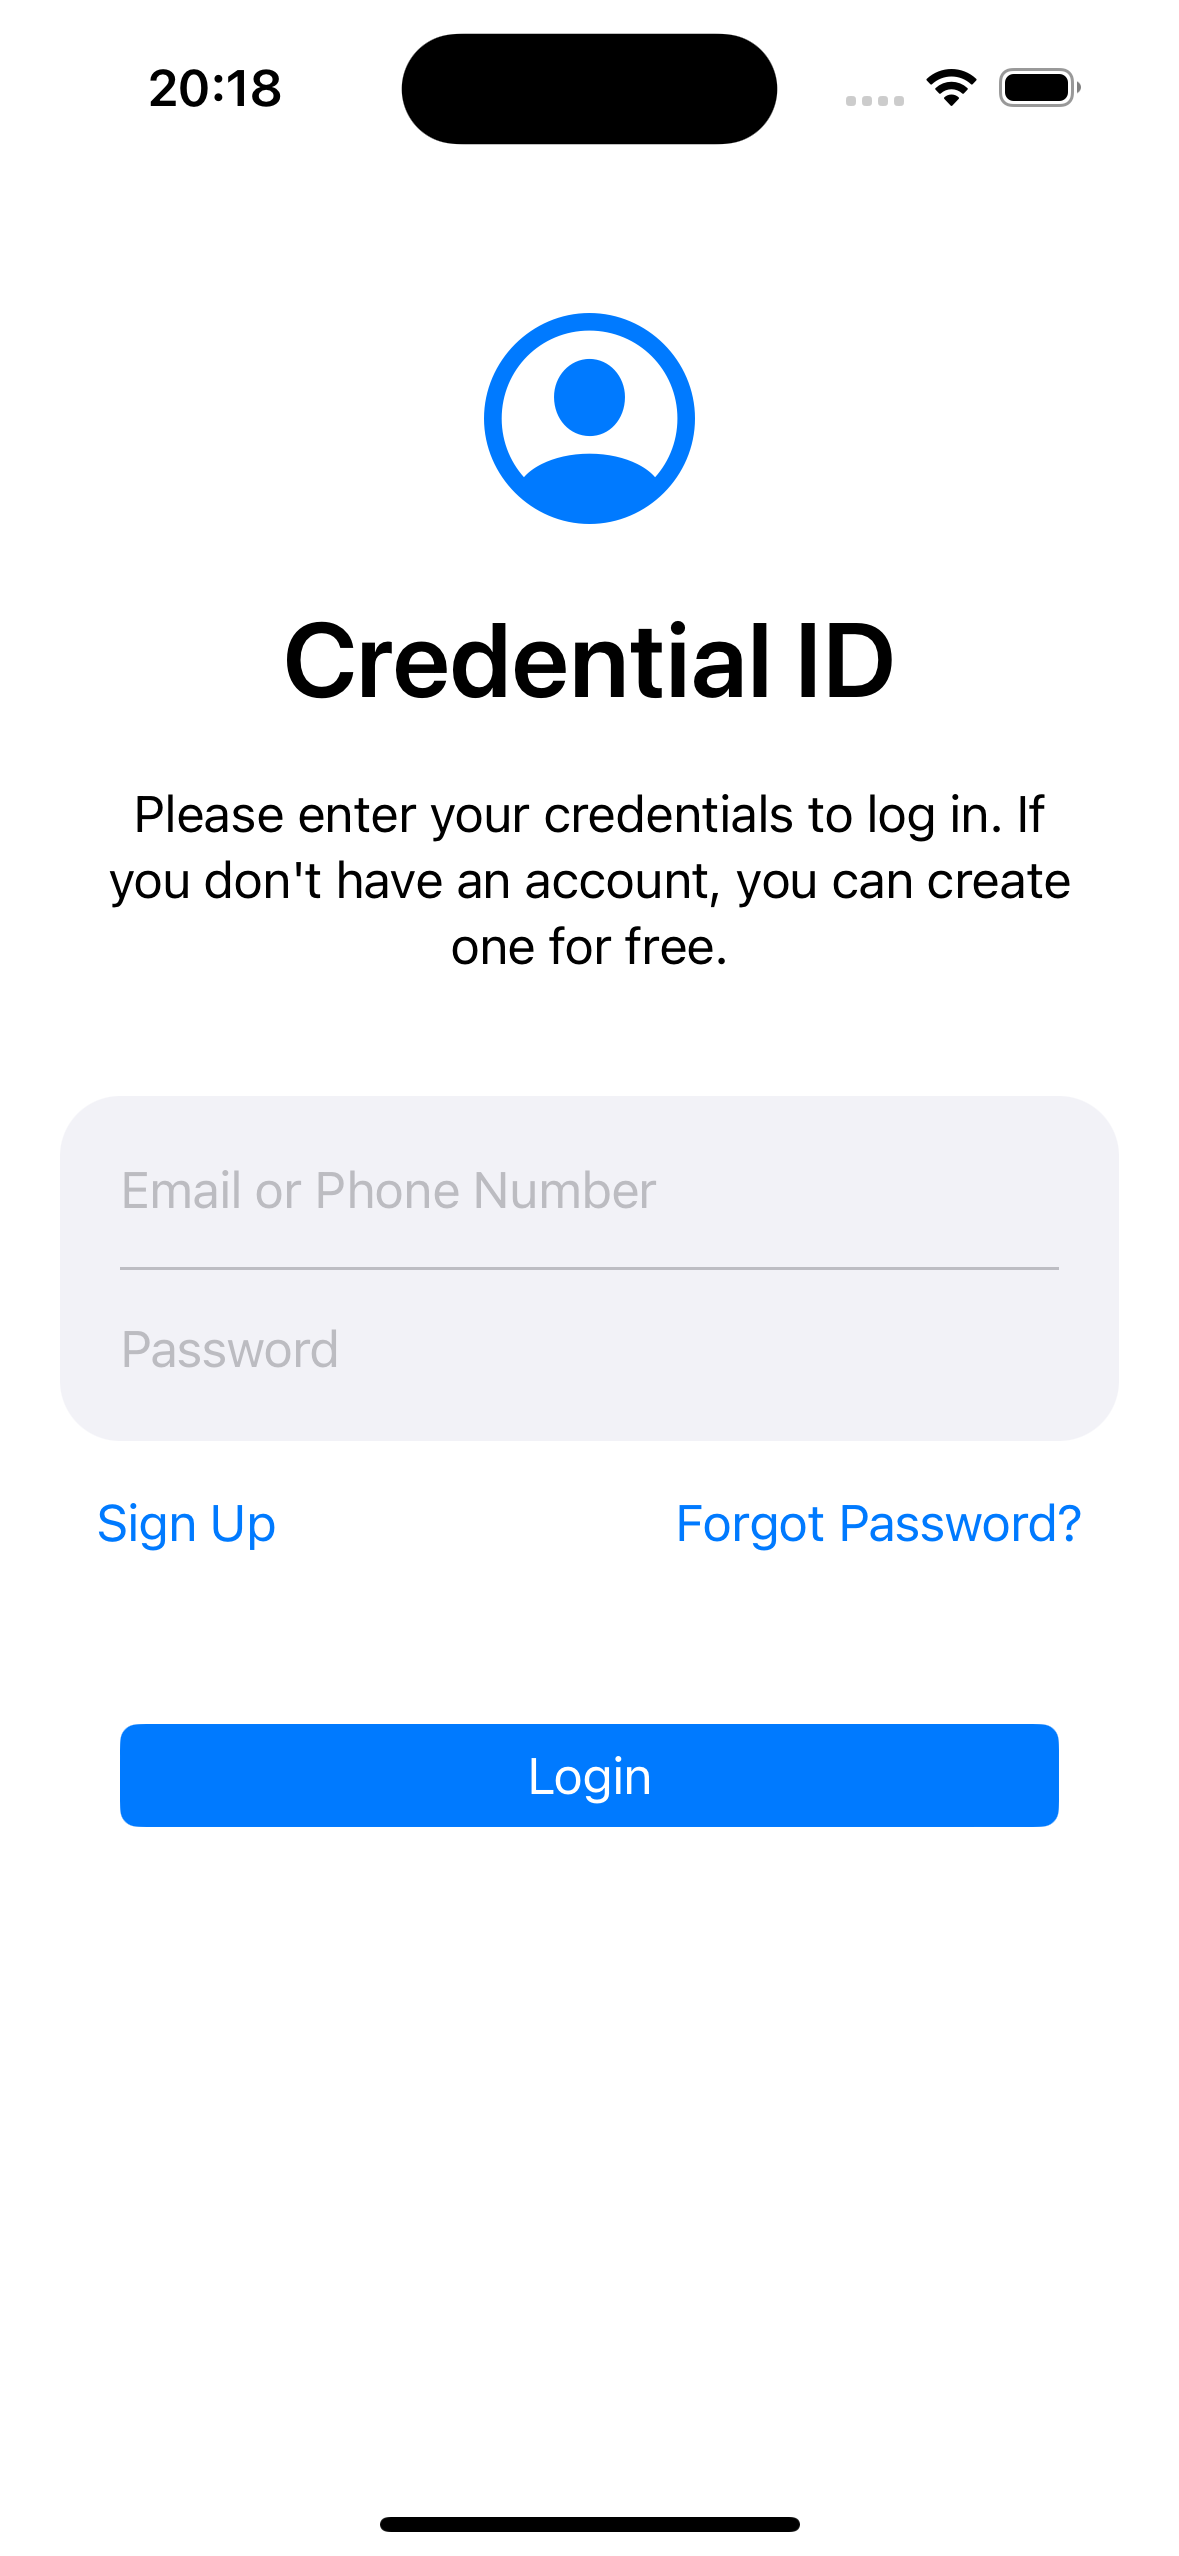
There are few accessible websites on the internet and even less accessible websites with open source. However, open source projects heavily contribute to the evolution of web development, and web accessibility can’t be left out this progression.
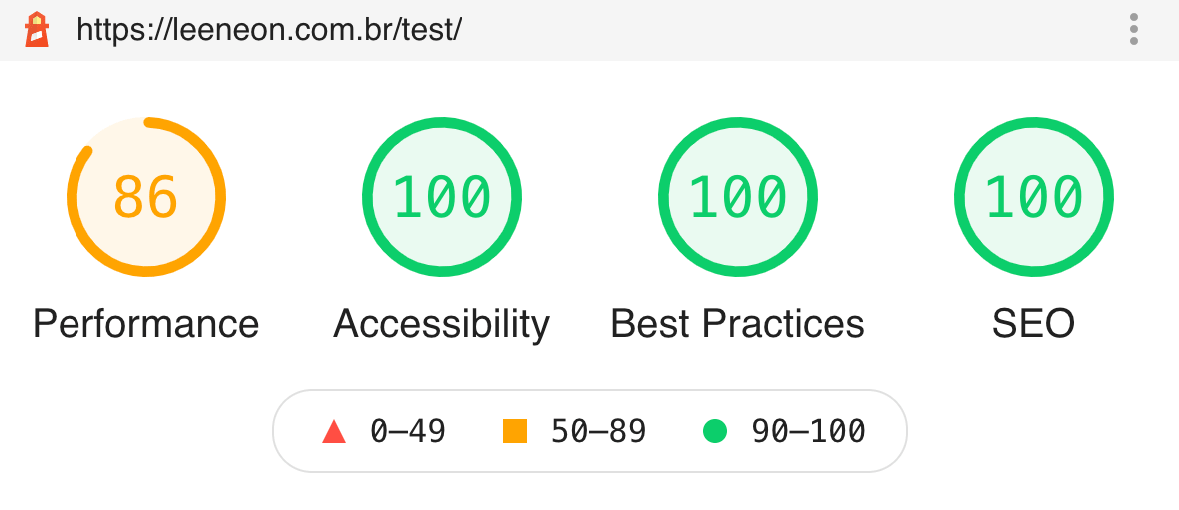
Leeneon is an open source project and it was born to contribute to the expansion of web accessibility. It is a free accessible portfolio template, ideal for resumes and for presenting creative works such as design projects, photography, illustration and more.
If you desire to use Leeneon to publish your personal or commercial website, read the License section of this documentation before.
The WCAG is a document that contains all the instructions for creating accessible content on the web. This document is maintained by W3C, the organization that regulates web standards worldwide. Leeneon was developed to meet those standards.
Check out the main features that make Leeneon an accessible website (or very close to it):
HTML semantics – Correct use of HTML 5 tags that provide meaning for its content.
Color contrast – All color combinations between text and background have a contrast of at least 4.5:1.
Keyboard navigation – All functionalities are available from keyboard and the focus are always visible.
Reduce motion – Leeneon identifies user’s system preferences to disable or enable animations.
Dark and light theme – Leeneon identifies user’s system preferences to choose between dark or light themes.
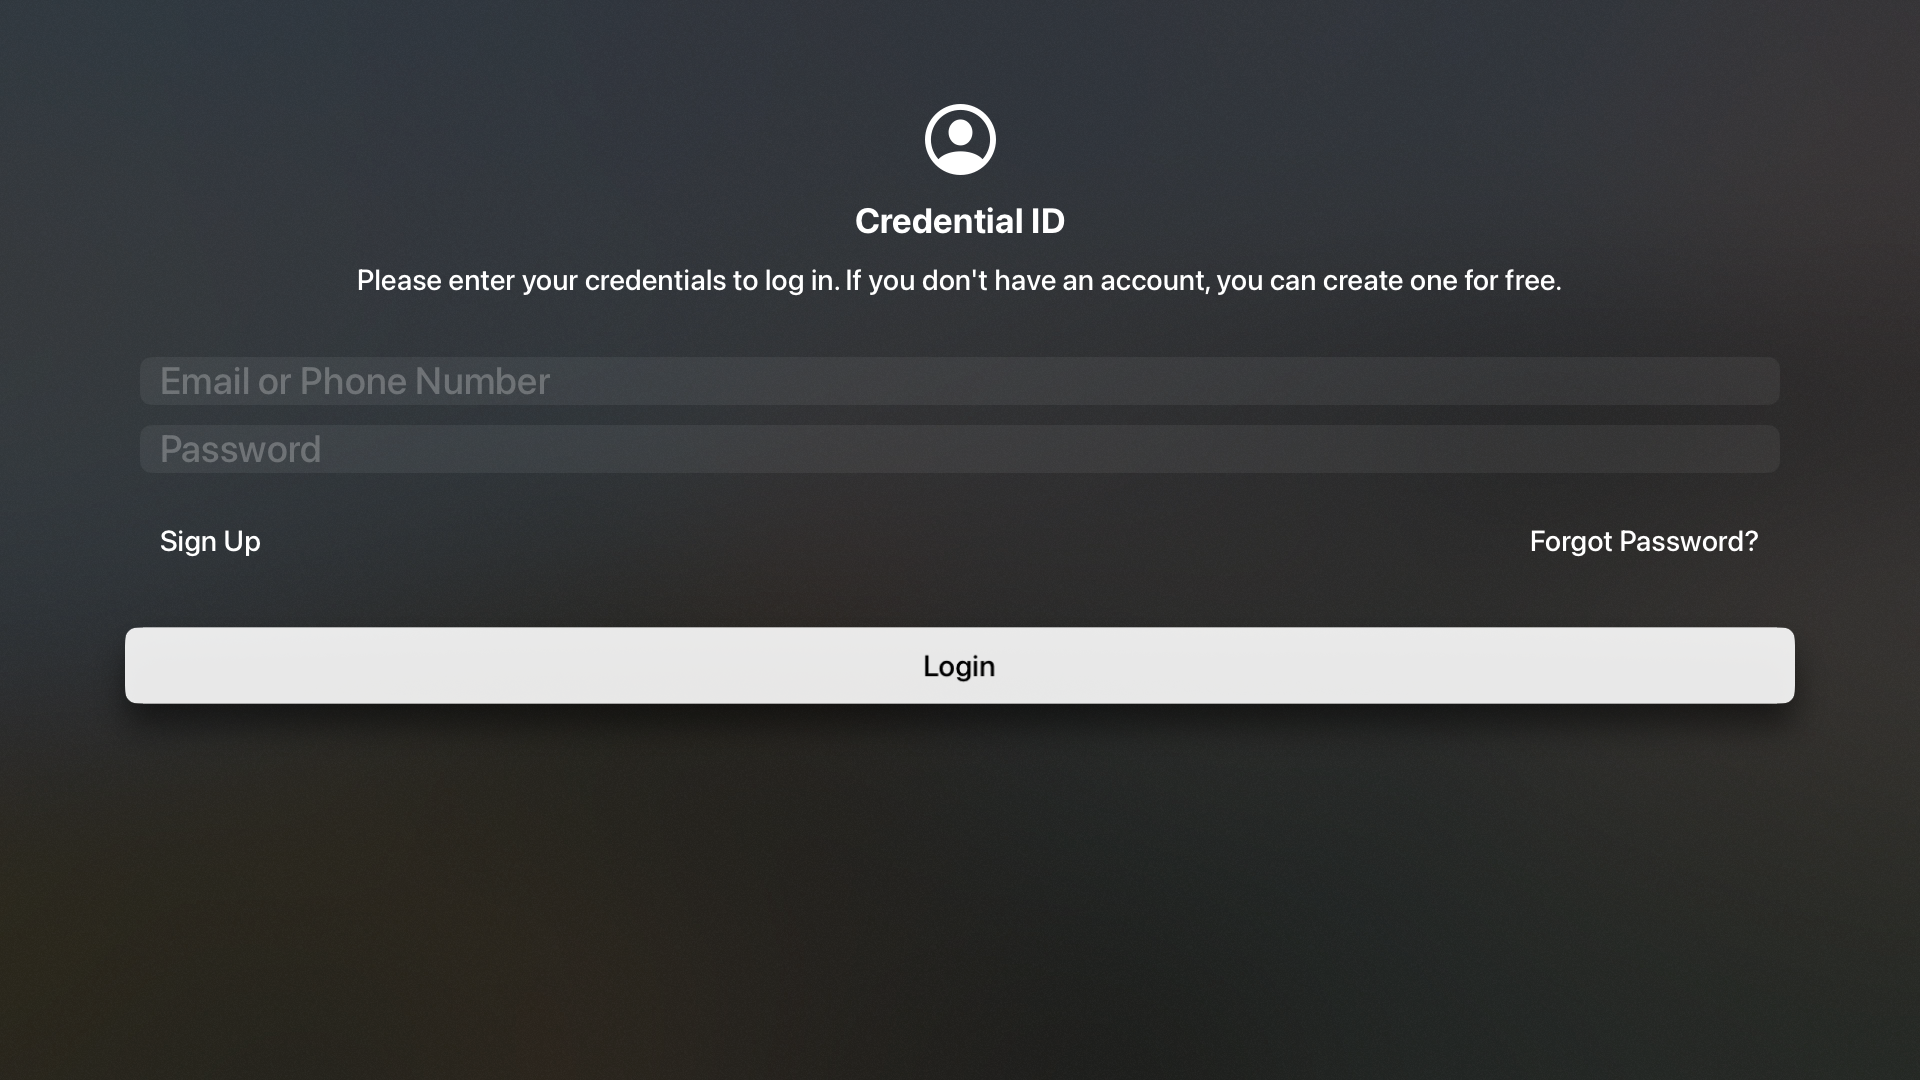
Responsive – The website adjusts for all screen sizes.
Zoom – It supports up to 400% zoom without breaking the page.
Right to left – Both right-to-left and left-to-right versions are supported.
Form errors – Contact form errors are clearly presented and guides the user on how to fix them.
Images description – Non-decorative images have alternative text.
User has the control – Although Leeneon adopts settings based on user’s system preferences, an interactive panel is available for the user to manage preferences on their own.
Automated tests are important, but they are not a substitute for human tests. That is why your contribution is so important for improving Leeneon’s accessibility.
Installation and usage
Download the project’s .zip file from GitHub or clone the repository. Open the project in the terminal and run the npm install command to install all project’s dependencies.
Development
Run the command npm run start to start the server and open http://localhost:8080 in browser. The site will reload automatically when changes in the source files are saved.
Production
Run the command npm run build to generate production files. The dist/ folder containing the files will be created.
Editing the template
Changing the color
By default Leeneon comes in purple, but you also have a choice between five others colors available in the project.
To change the color open the file src/index.js and find the line that imports the .scss color file:
import"./scss/purple.scss";
Change purple.scss for one of the options below:
blue.scss
orange.scss
pink.scss
green.scss
red.scss
Finally, save the file.
Changing the language
By default Leeneon uses the English language. To change it you should edit the value of the lang attribute in the opening <html> tag of the index.html, fullscreen.html and 404.html files.
See the example below of how to switch from English to Brazilian Portuguese language
First the English language:
<htmllang="en">
Now the changing to Brazilian Portuguese language:
<htmllang="pt-br">
Changing the direction of the content (rtl)
One of Leeneon’s goals is to be a portfolio template that can be used by anyone regardless of their language. Because there are some cultures in the world that have a right-to-left writing order, Leeneon was developed to support this as well.
The left-to-right writing order is the default in Leeneon. To change it you should open the src/index.js file and go to the line that import the main css file.
import"./scss/main.ltr.scss";
Change main.ltr.scss to main.rtl.scss:
import"./scss/main.rtl.scss";
Save the file.
Creating your own styles
Leeneon is an open source template, so nothing prevents you from editing the files anyway you want. However, to avoid conflicts with the styles defined in the existing .scss files, utilize the custom.scss file to create your own styles. It is located in the src/scss/ folder.
leeneon/
|-- src/
|---- scss/
|------ custom.scss
Contributions
Leeneon is an open source project that aims to be increasingly accessible, but for that your contribution is essential.
When using the template and identifying bugs or improvements, please create an issue in the GitHub repository.
License
Leeneon was born with the initial purpose of being sold on the internet. The goal was to create a template that had accessibility as its main differential.
Throughout the process, I had a hard time finding other accessible open source websites that I could learn from.
When I finished the first version, I realized that I had developed the project that I would have liked to have had access to during my own product development.
That’s when I decided that Leeneon would be more useful to people as an open source project rather than being sold.
If this project is in any way useful for the growth of accessibility on the web, I will be very happy to have made my contribution to this issue that impacts the lives of millions of people.
You can use Leeneon to publish either personal or commercial websites, just remember to keep the credit that are at the bottom of the index.html and fullscreen.html files.
Isotope plugin
Isotope is one of the javascript plugins used by Leeneon. Although Isotope has a free license for personal and open source projects, it also has a specific license for commercial projects. Therefore, read carefully about the license of Isotope for commercial purposes before publishing your project. Proper use of Isotope is your responsibility.